What Is Involved In Hand Painting A Kitchen?
A Decorators Guide
Hand-Painted Kitchens, From Initial Phone Call Through to Completion
If you are thinking of replacing an outdated kitchen but can’t face the disruption or the expense, maybe think of painting your existing kitchen in a more fashionable colour and finish it off with some new handles or knobs at a fraction of the cost. From the moment you call me regards your kitchen everything is aimed at trying to make the experience as stress free as possible for you the customer. We will arrange a good time to call and look at your job leaving enough time to chat through the process of the works, what your requirement are regards completion of works and also talk about your ideas on colours and if necessary, I can provide a free colour consultation which includes the ability of colour scanning technology say if you have something you want to match up to and a wide range of colours from the Benjamin Moore range of paints. Maybe you would like to change the handles or knobs? I can provide new door furniture catalogues if you require. After that, I will go away and provide you with a free quotation via email. Hopefully, then you will accept my quote and we can arrange a start date.
So what’s actually involved in painting kitchens, you just slap some paint on, don’t you?
Far from it! This is a highly skilled job and shouldn’t really be left to anybody who claims they can paint. Please check reviews, websites and if possible, speak to previous customers of the painter you are going to employ to paint your kitchen. The process is actually quite a lengthy one, so let’s go through it. You will find different painters will have slightly different ideas on what materials and techniques but the principles are the same. Clean, Preparation, Primer and Paint.

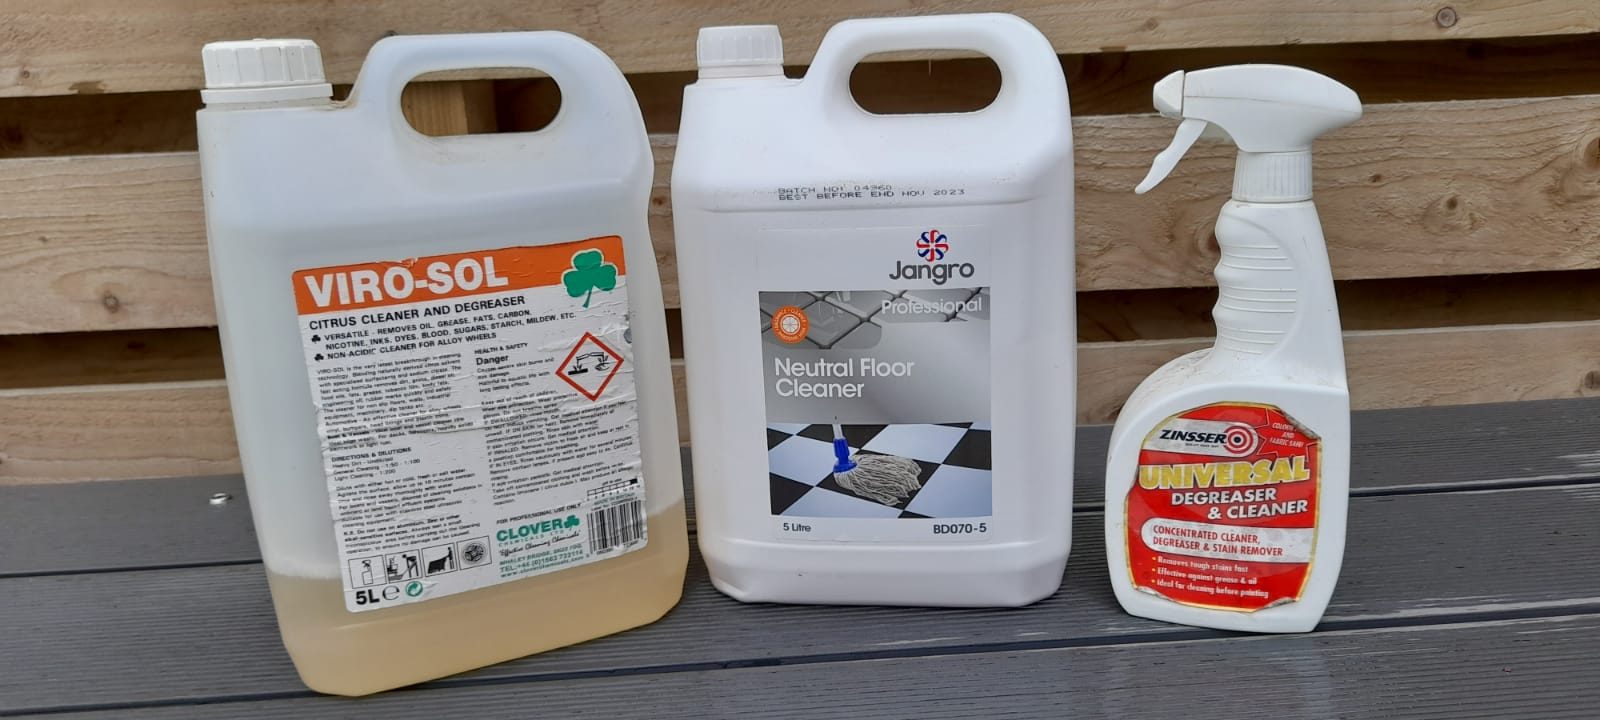
CLEAN: The first thing is to carefully remove all doors and drawer fronts, making sure you mark them up and where they go. Remove all hinges keeping them in the cupboard they came from as the adjustments on the hinges will already be setup. Remove all handles and set aside to clean if they are to be re-used. The cleaning part of the process if probably the most important part because this will determine whether the paint that’s going to be applied will actually adhere well to the surface. Kitchen will be covered in a multitude of contaminants like grease, dirt and dust and it's important to remove all these using a de-greaser but making sure you use one suitable for the surface you are cleaning. I prefer to use something that has a neutral ph level like Jangro cleaner but Zinseer Universal degreaser and Viro-sol are good products also used correctly. I clean all surfaces to be painted twice and then really well rinsed off with clean water. All surfaces like floors, worktops and appliances are to be protected using masking papers, floor protectors and plastic films.
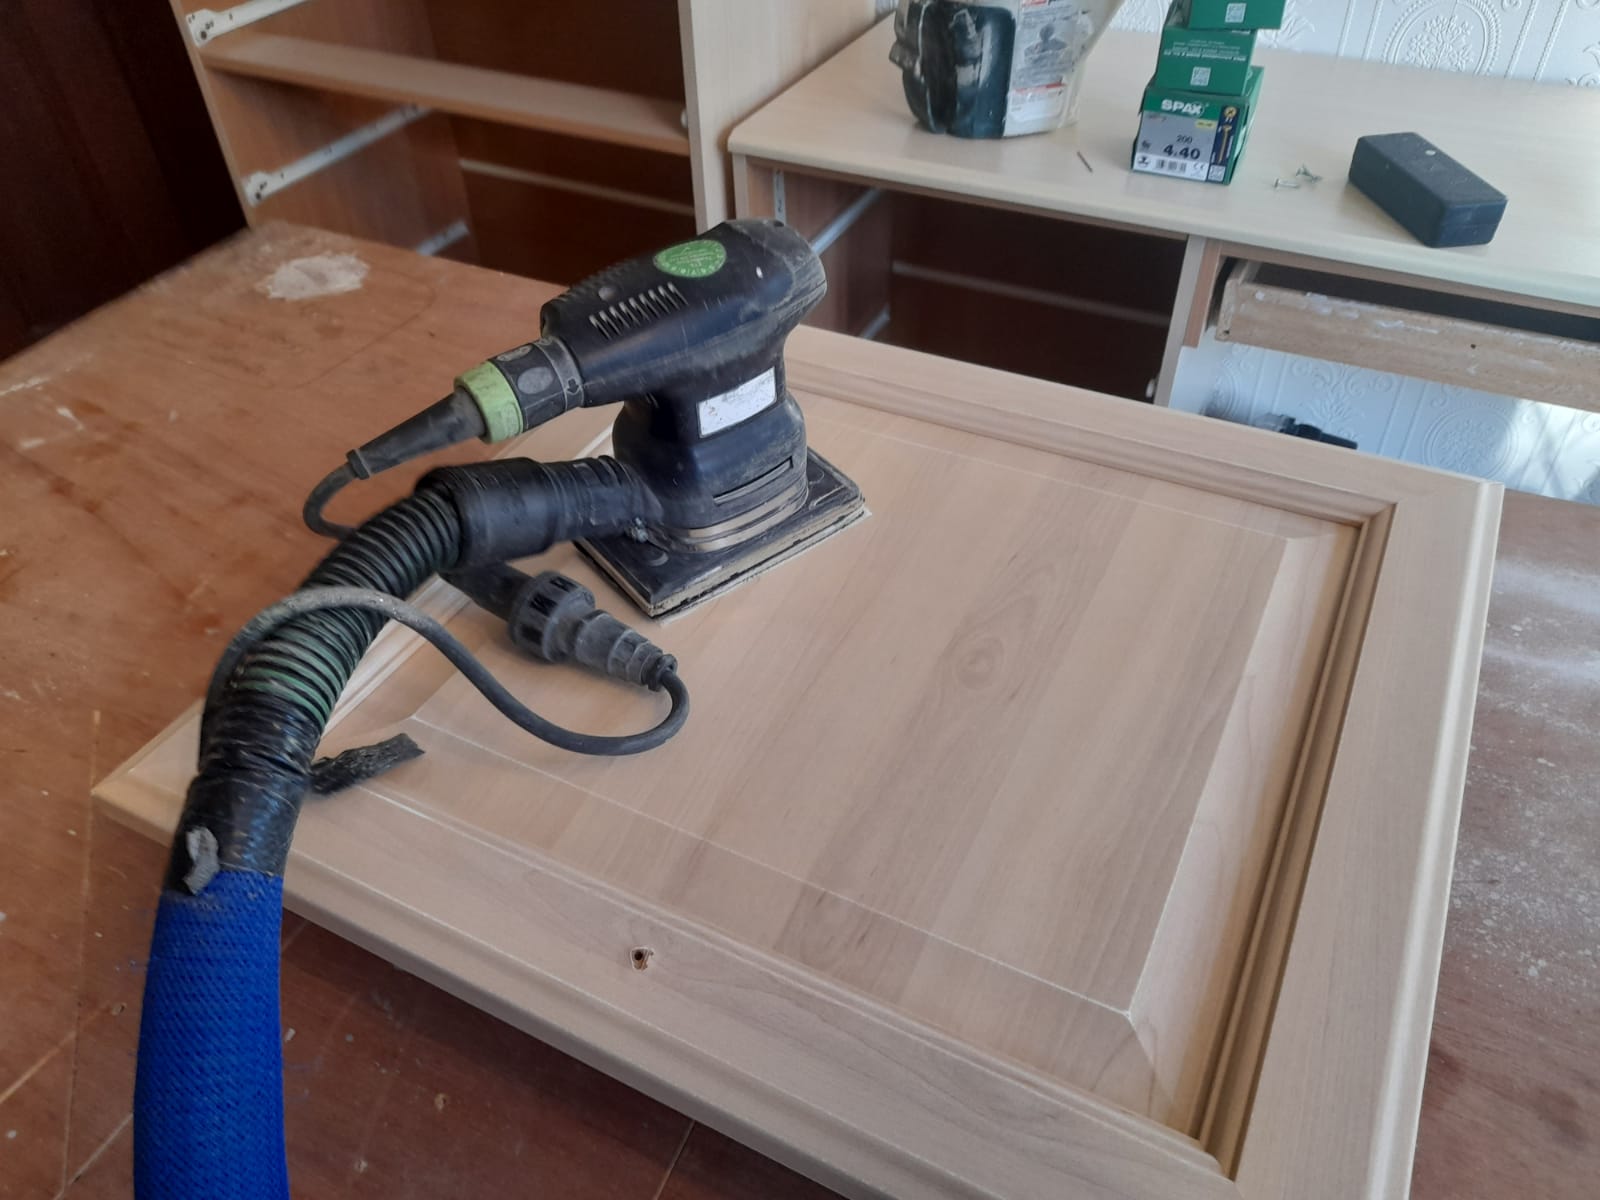
PREPARATION: This is the sanding and filling and side of the job and again is determined by what you are painting on top of. A previously hand-painted kitchen may require more sanding due to heavy brush marks than an un-painted timber effect finished kitchen. All my sanding work is carried out using dust-free sanding equipment from Festool. Using my Festool rts400 attached to Festool dust extractor this means a good and healthy working environment for myself and a much cleaner living space for the customer. At this point any drilling of new holes for handles and filling work needed because of any damage will be done using a suitable 2-part filler.


PRIMERS: The choice of primers will again be determined by what you are painting on top of. Products like Smith & Rodgers Blockade and Zinseer BIN each have the ability to block tannin stains coming through timbers and showing through new paint finishes. Other products like Benjamin Moore Insl-x Stix, Caparol Haftprimers and Tikkurila Otex are fantastic adhesion primers suitable for sticking to things like melamine, laminated surfaces, vinyl or plastics. Certain primers, not all, can be tinted to nearer the finish colour to avoid extra finish coats. Any other gaps, holes or areas that need filling can now be seen and attended to.
PAINTS: The quality of the paint you use to finish your kitchen will determine how long it lasts and the durability it gives you. The ability to wipe down the odd spillage and the kid's chocolate fingerprints will see that the kitchen still looks as good years down the line as it did the day I finished it. This is the one thing that is a constant for me, Benjamin Moore Scuff X eggshell or satin finish or Benjamin Moore Advance satin or gloss finish is in my opinion the most durable, hardwearing brushable paints available on the market. Both are waterbased paints which means it dries very quickly and is more or less odour free giving me the ability to turn round jobs faster without comprising on finish or durability.
So after lightly sanding the primed surfaces with a Mirka Gold Flex pad and removing dust, 2 or 3 coats of the finish paint is usually required depending on colour. Paint application can be either brush and roller, with the Two fussy Blokes roller sleeves being a personal favourite or by spray finishing. I sometimes prefer to spray primer and finish top coats with brush and roller leaving a beautiful flawless finish.

FINISHING TOUCHES: So once all the painting work is complete and dry, it's time to put all the doors, drawers and plinths that may have been removed back in place. Any door levelling or adjustment will be done and handles re fitted or replaced. All masking papers, coverings and films etc will be removed and also clean the insides of cupboards to reveal your beautiful new kitchen.
So, as I said before, it's not just a case of slapping a bit of paint on but quite a length process which depending on the size of your kitchen, could take a week or two to complete, this is still a job that will give you stunning results for a fraction of the cost and stress that replacing your old kitchen for new will cause. Hopefully I have encouraged you enough to give me a call for a free quote.
